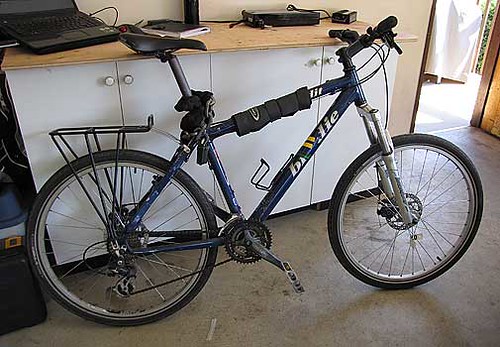
The big day has finally arrived. It's time to convert my old Brodie hard tail to an electric bike. It's like Christmas and a birthday rolled into one!
This post documents the steps I took to complete the conversion using the kit described in
It was very straightforward with no need for any exotic or special tools.
you need at least:
- Allen key wrenches
- Phillips screwdrivers
- a couple of large adjustable wrenches / vice grips
it would be nice to have:
- bike stand so you can access the whole bike by walking around it. Leaning against a bench gets tiring.
- cordless drill
- caliper
The Steps:
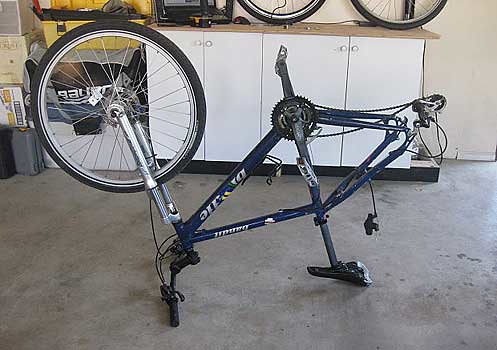
1) Remove existing rear wheel
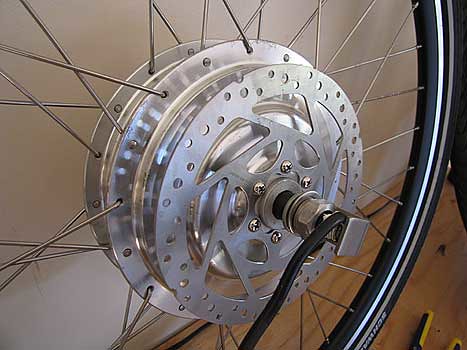
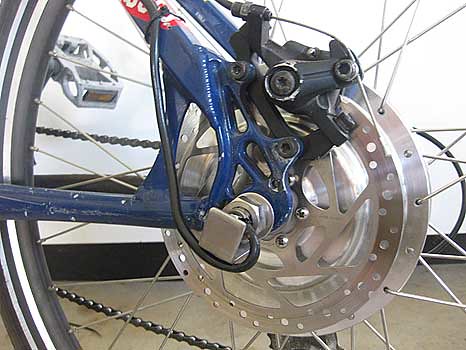
2) Mount disk brake on new wheel (if your bike has disk brakes.)
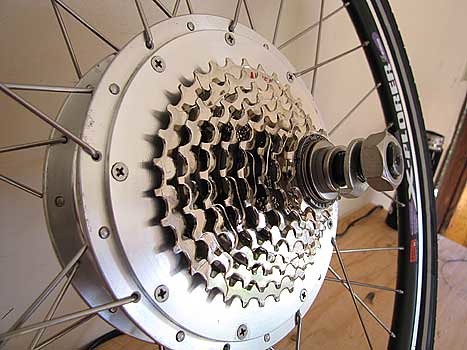
3) Mount the gear cassette. Make sure to count the number of gears on your existing set up and match it. I think I missed a spacer as the gears are making some noise on the highest and lowest. I will be looking into this but I doubt it is serious (note to self: get a book on bike mechanics)
4) Loosen torque nut to expose axle flats for dropout. The wheel comes with the nut tightened up to the 14mm main axle obscuring the axle flats for the dropout. As a noob I didn't realize this until a friendly exchange on the Endless Sphere forum set me straight.
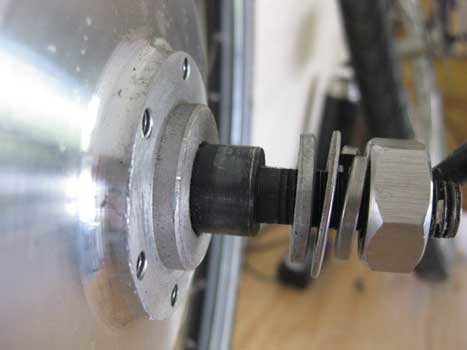

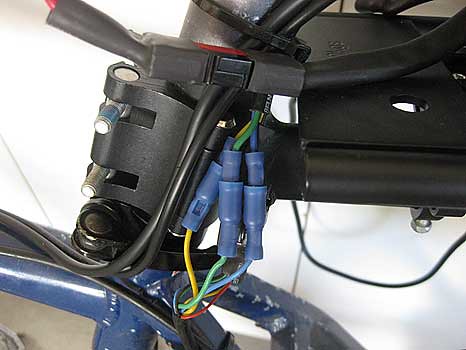
I have some concerns around where the wire comes out of the axle. It has some kind of what looks like silicone sealant but doesn't look to be fully sealed. Before taking the bandit out in the rain I will be looking to provide a better seal on this interface.
5) Install new wheel (looks pretty sharp)

Another observation from the hub/axle installation is that the wires actually come out the back side of the bike. It seems to me it would be better if the wires came out the front side as it would reduce the risk of them getting banged around and damaged.
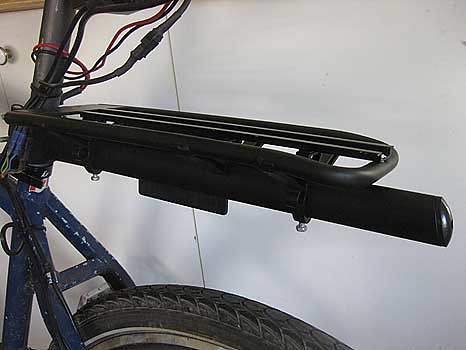
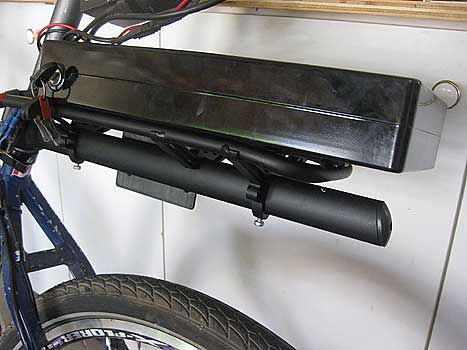
6) Mount battery rack. The 48V battery pack I got is larger than the 37V packs so instead of being able to hang it on the side of the wheel it has to be mounted on a dedicated rack that simply bolts to the seat post. Unfortunately this meant I had to remove the child seat rack for transporting my little guy around which is a shame.
This is a contributing factor to my second guessing the battery choice as the 37V might have fit inside the frame. I am looking at different mounting possibilities for the battery but the bottom line is it is bulky and sadly won't lend itself to many options; will be looking into trailer for the kids now.
7) Charge battery (wait for the green light!)
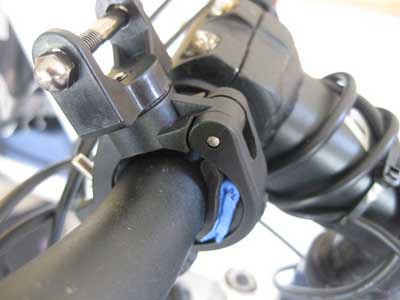
8) Mount the throttle and
the feedback panel (Cycle Analyst).
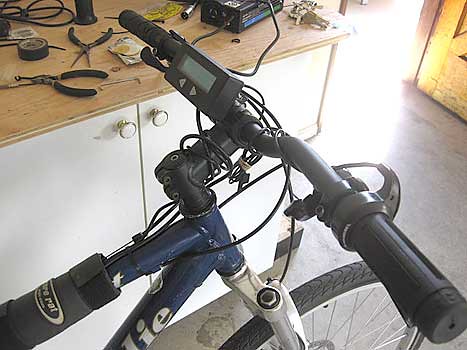
The diameter of the mounting bracket for the Cycle Analyst was way too big for my bars even with the included rubber padding doubled over so I put in a temp shim with masking tape.
I am also having some trouble finding the correct position of the throttle handle. The bandit has thumb trigger shifters which need to clear the end of the throttle housing when depressed and yet be close enough to not make shifting awkward. I am still experimenting but the set screw is a very small Allen key and it has now been rounded out making it difficult to adjust further. Make sure you use the exact wrench size when adjusting this screw.
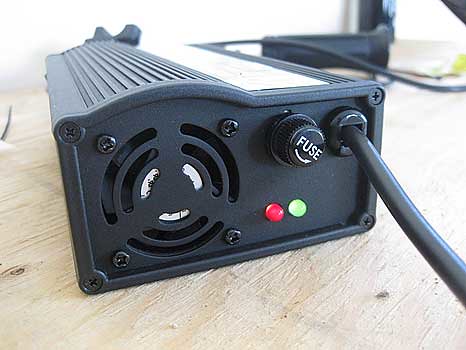
9) Mount the controller.
Another observation: there is a general lack of mounting points on components like the battery case and controller. If there were mounting hard points on the cases it would make it easier to try different installation configurations. Since I am still looking at different options, for now I used a zip tie to strap the controller box up under the seat.

10) Slide the battery onto the rack and secure it
them onto the frame to avoid entanglements. The wiring setup is very simple especially with the diagram in the installation guide on the Grin site.
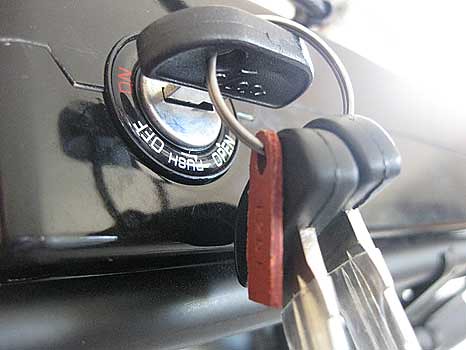
12) Turn on the key
13) Ride!
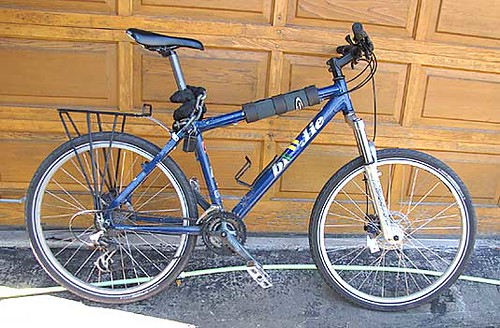
Before:
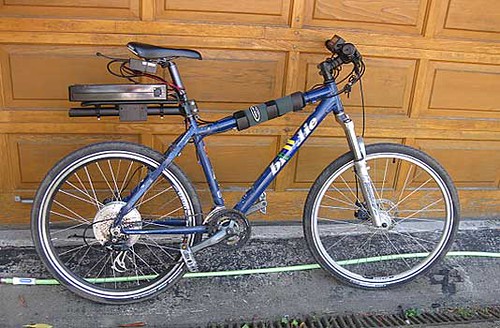
After:
As I said this was a surprisingly
straightforward
project that didn't require any specialty tools or skills. Everything I needed was in the kit (thank you Margot @ ebikes).
Total build time over two days was a few hours (this would be significantly reduced for any subsequent builds).
Wrap up:
- be prepared to go through a lot of zip ties if you are going to play with different mounting configurations
- I weigh over 200 lbs and I have a very heavy chain lock so this is going to be a very rear-heavy bike. I am sure future changes will be driven by a desire to find a better balance
- aesthetics leave a lot to be desired
- I'm looking forward to finding the range of this battery/motor combination
- I need to find a trailer to transport the kids now
- still need to set up the speedometer
Feel free to drop me line if you have any comments or questions.
No comments:
Post a Comment